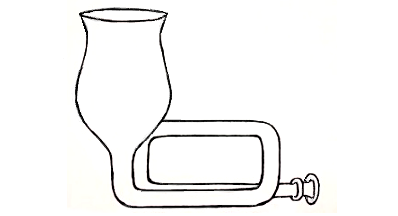

In this post, I show how I chopped the top off a Cornelius keg and had it welded to a Sanke keg.
The other day my good friend from the late Half Sugar Brewpub stopped by for a visit. I ended up running out the door with him to fetch five Sanke kegs from a bar downtown. They had been in storage for the last year and my friend didn’t want them. Even though I haven’t used Sanke kegs (at home) I decided I’d take them. I’d been thinking about getting a 10-ish gallon (38L) fermentor and reasoned I could use one for that.
I ended up getting some equipment so I can still use my ball lock setup in my keezer with the sanke kegs.
Anyways, one of the kegs was a nice big 58 liter. This is the one I chose to make into a fermentor. I also had an old corny keg that had a mysterious leak at the bottom somewhere so I used the top portion to fashion a freakish blend of the two styles.
After some you-tubing and general web marauding and after some thought, I decided to flip the keg upside-down and cut a hole in the bottom. The “bottom” is now the top, where the corny head got welded. Now I have a way to dump/collect yeast, if I so choose. It’s no conical but I figure with the dome like bottom I’ll still get a reasonable amount of yeast settling into the “cone”.
The other reason for attaching a corny top to the thing is that its now compatible with all my other kegging equipment. It’s easier to clean and adding stuff like dry hop additions seems easier too. Generally, I enjoy being able to reach inside and clean my fermentors. I don’t think its essential, just convenient.
I have several reasons for wanting a keg in which to ferment:
- Oxygen free transfers/kegging
- Pressurized fermentations
- Pressurized/higher temperature fermentations
- “Natural” carbonation (save some CO2)
- General spunding fun
- Badassity
The Build
I started by chopping off the top of the corny. Notice I chose the seam where the top meets the body of the keg. This provided a nice guideline for cutting and also ensured I had the thickest edge to attach to the Sanke keg.

before cut 
mid cut 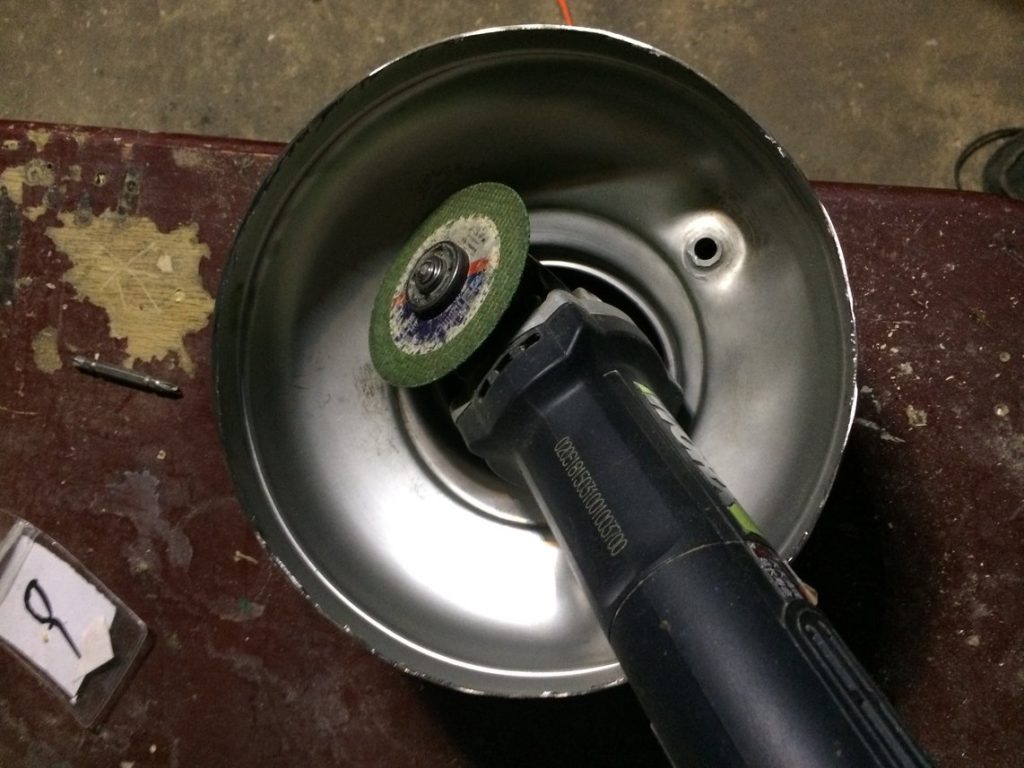
cut complete

both cuts done
Next I traced my planned cut on the bottom of the Sanke keg. I left the diameter of this cut smaller than the corny keg. The finished product has a lip inside. This is slightly less than ideal, in my mind, but I was originally thinking I would weld it myself and wanted to simplify matching the edges.
After finishing the cuts with the angle grinder, I took some fine grit sand paper and smoothed the edges of each cut. Special care was taken on the Sanke cut because I’ll be reaching my arm past and rubbing it up against the edge a lot. The end result was very dull and smooth.
Welding
The next step was welding. I’ve a friend who’s handy with a stick welder (arc). But after some reading I decided the risk:reward ratio was too high. Arc welding is hot. At high temps the chrome in stainless steel gets messed up and the end result is that it’s susceptible to rusting. Obviously, ending up with a rusty fermentor wasn’t on the list.
I went with the most commonly sited and best option, TIG welding. Fortunately, I found someone without too much hassle. Living in China comes with its obstacles at times and I wasn’t all that sure when I dropped the keg off at the shop if the guy was using MIG or TIG. I’m not an expert on welding.
Everything came out great though. And it was definitely TIG welded, as I later found out when chatting with a friend about it.

beautiful 
picking it up at the metal shop
Once I got it home I did a leak test. I put 15 psi on it and got a some soapy water to splash around the weld, posts, and lid. No leaks!
Don’t Try it at Home?
I have to admit that there is a part of me that thinks this thing is dangerous. When I first put some CO2 on it to test for leaks, I made sure I had at least a door in between myself and the fermentor. Someone with an engineering background can chime in and let me know how to calculate how much pressure this thing can handle. Personally, I won’t put more than 20-25 psi in it.
Fermentation
For my first batch in the Frankenmentor I went with a 40 liter batch of my Blond Ale.
I fermented it warm and under pressure with Danstar’s Nottingham.
Per reading this post by Scott Janish I started fermentation without any pressure for the first 22 hours. This should help prevent excessive ester and fusel alcohol formation and ensure a quick start to fermentation.

I wanted to ferment warm so I hooked up an electric blanket to my temp regulator. No cooling but I didn’t need it this time!
| Time | Ambient Temp | Side of Fermentor Temp | Pressure (PSI) |
| Day 1 | 19ºC | 18.2ºC | 0 |
| Day 2 | 19.1ºC | 20.1ºC (8 a.m.) 24.1º (6 p.m.) | 15 |
| Day 3 | 19.7ºC | 23.9ºC (a.m.) 23.7ºC (p.m. | 15 |
| Day 4 | 19.5ºC | 23.5ºC | 15 |
| Day 5 | 20.5ºC | 23.5ºC | 15 |
| Day 6 | 20.3ºC | 23.5ºC | 15 |
| Day 7 | Cold Crashed | 15 | |
| Day 8 | 4ºC and fined | 15 down to 2 | |
| Day 9 | Packaged |
*Fermentation activity slowed on day 3. I checked the gravity on days 4 and 5, I determined it had reached a final gravity of 1.010.
Tasting the Beer
I’ve only tasted a sample from when I was kegging. A little time to drop clear and this will be a nice beer. Slightly bready/malty. Clean except for a slight yeasty/sulfury note. I expect the sulfur to go away after a week or so in the keg. Should end up being a good example of a blonde ale.
Photos

kegging 

the “bottom” 
Sample
Issues with Transferring
I had some trouble when it came to getting samples and kegging due to hop matter that kept getting stuck in the poppet. I used a floating pick up dip tube but I got some junk in the poppet when I was getting a hydrometer sample.
In the future, I’m going to use a screen over a standard tube. I’ll cut the tube to length so it can sit over the yeast cake and hopefully avoid transferring junk into my kegs.
Overall
I am really happy with my first go fermenting under pressure with this fermentor. I think it was a project well worth the effort. I’m looking forward to many 40+L batches to come.

