A couple weeks back I noticed my keezer wasn’t maintaining temperature anymore. After a little investigating I determined my compressor was going out. I decided to build a new one and reasoned that I could most likely still use the old keezer as a fermentation chamber (turns out that it couldn’t actually keep up the heat of fermentation). Ironically, I had finally balanced my keg lines properly and installed new faucets from Intertap.

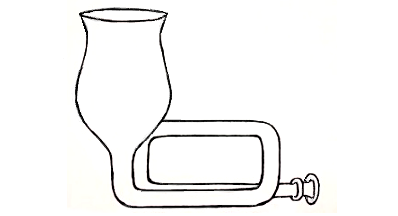
My original keezer (tower style) 
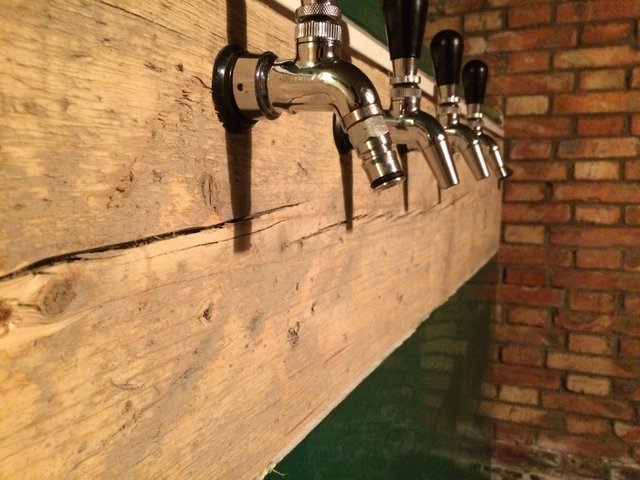
Same one as pictured left with paint and new taps
A quick trip to the second hand market and I had my new freezer. I opted for a larger model so I can comfortably fit it 8 kegs. I recommend getting a keezer larger than you think you need. With the first one I could finagle 4 kegs in but got tired of the hassle and usually had 3 in it. Conveniently, the lumber yard is located adjacent to where I got the freezer so I picked up the wood I needed for the collar.
I used some reclaimed lumber for this build not because of style (although I do like the way the end product looks) but more to pinch pennies. Getting something fairly straight will make life easier when constructing the collar.

Supplies
- Freezer
- 5cm x 25cm x 4 meter board (1) *equivalent 2″x 10″x 13′
- Deck screws, 7cm (2 1/2″) or longer
- A can of Polyurethane (PU) foam
- Paint (I used chalkboard) and brush
Tools
- Miter saw (I didn’t miter so any saw would work here)
- Hammer
- Chisel
- Drill
- Paddle bit (24 mm or 15/16″)
- Drill bit for counter sinking (size just needs to be a bit bigger than the head of the screws)
- Drill bit for pre-drilling (one about the same size are your screws will work)


Extra Stuff I Used
- Insulating foam
- Staples and Stapler (upholstery or roofing style)
- Grinder with a sanding disc (my old board needed some touching up)
The Build
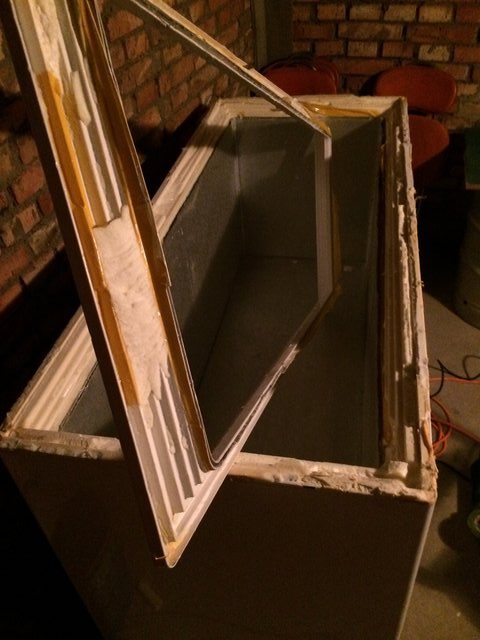
Take Off the Lid(s)
The job of removing the lids was super easy because the previous owner had already taken off the hinges. My lids now simply rest on top of the seal and can be lifted off entirely. You can see in the photos that my lids hinge in the middle as opposed to most freezers I’ve seen that hinge off the back.

used to have hinges in the center 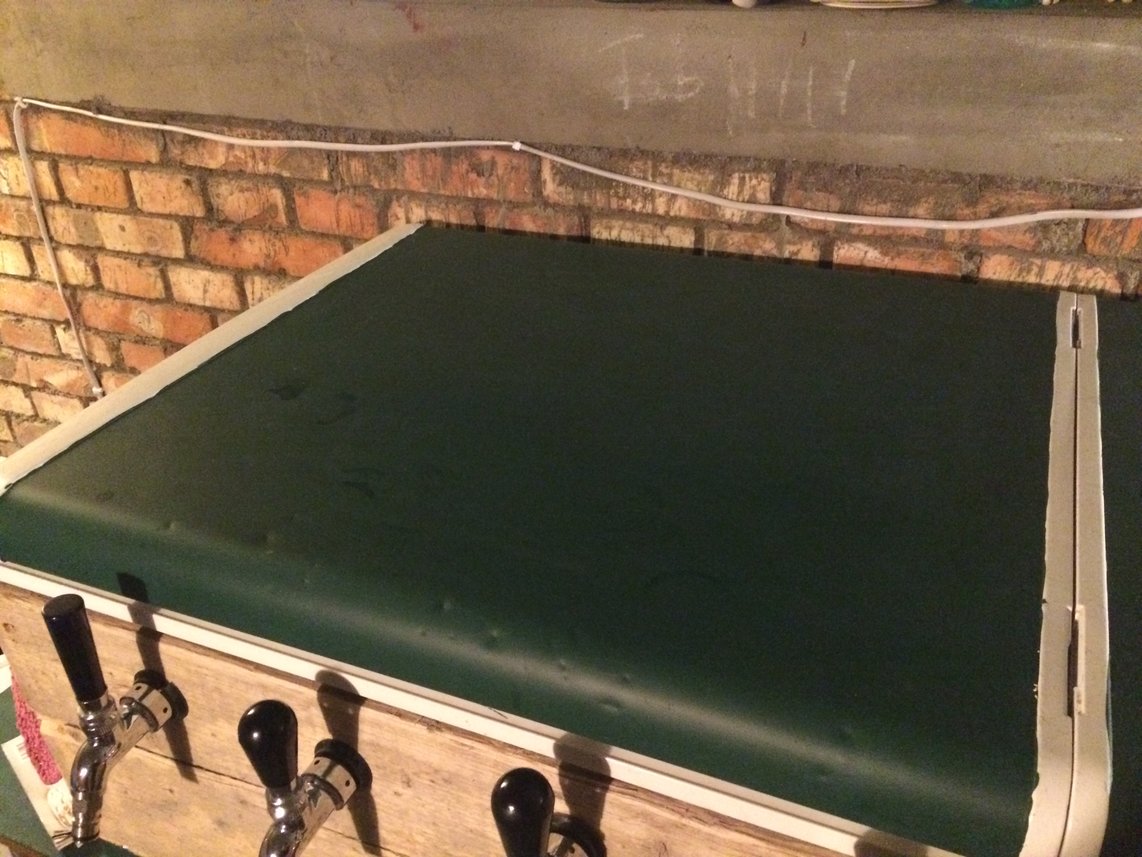
half of the lid
Remove the Plastic Rim

I used my chisel to pry up the rim and scrape off any residual foam from the under side. This part was a little tricky but with care I managed not to break the rim.
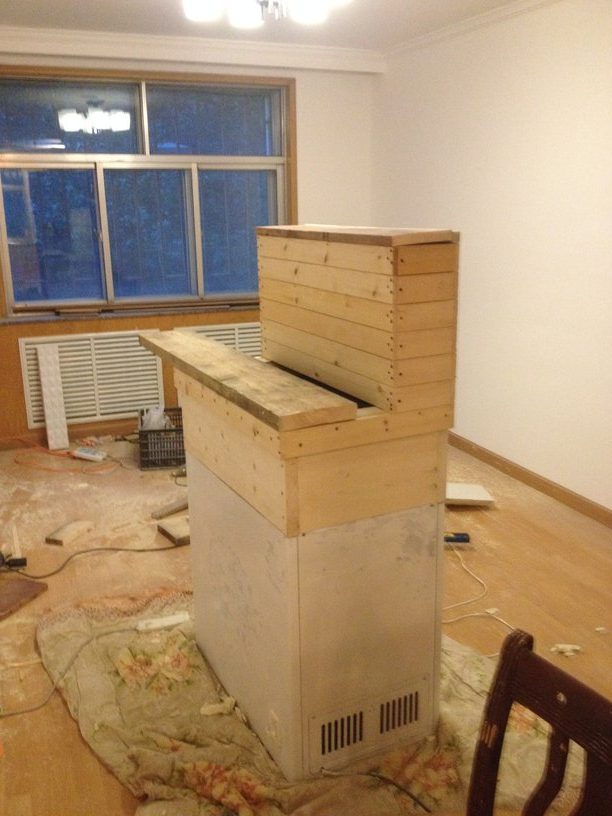
Construct the Collar
I cut and sanded the boards.


I then laid each board as pictured above and screwed them together. A third hand here is a plus. Pre-drilling holes is recommended. Alternatively, I suggest building it on the floor where its nice and level. I did this whole thing in a hurry one afternoon/evening and let some things slide on the perfection scale. I couldn’t wait to get my beer cold and pouring!
Three screws at each joint. Note my crooked cut. Not like I was building a piano, right? A little bit of sanding action with an angle grinder takes care of those mistakes (crooked cuts) and blends in the edges.

At this point I went ahead and drilled a hole into the upper metal lip of the keezer and then used a screw secure the rim. I did this at four points. Each point was near a corner.
Set the Rim


One screw at each corner
I put six screws in total into the plastic rim. One at each corner and one in the middle of the long sides. I used these screws to adjust and ensure that the rim was level so I would get a good seal with the lids. Using shims here to get it rim level is helpful. In theory, if you first make sure the collar is built level and square there is no need for shims.
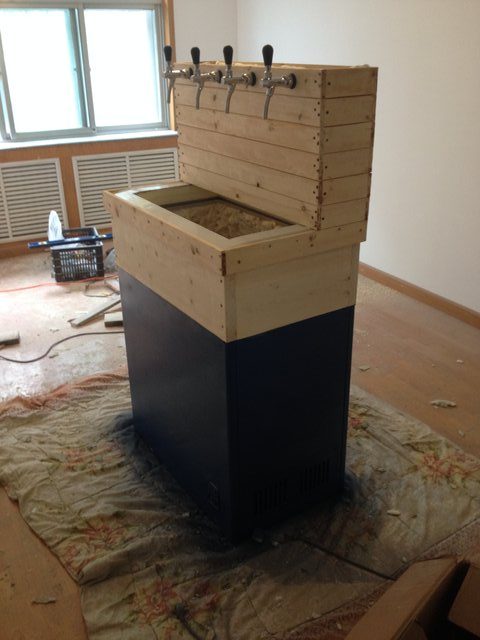
Drill Some Holes and Install the Taps
In order to get my taps installed, I had to do some fancy work with the chisel and a drill bit. It turns out that my board was too thick or my shanks for my taps were too short. Either way, I got ’em installed. No points for beauty but a few for speed and resourcefulness.
It pays to take your time and layout your tap locations to ensure they’re all gaped the same and the same height.

One down 
Less than ideal but perfectly functional
Attach Lines and Stuff
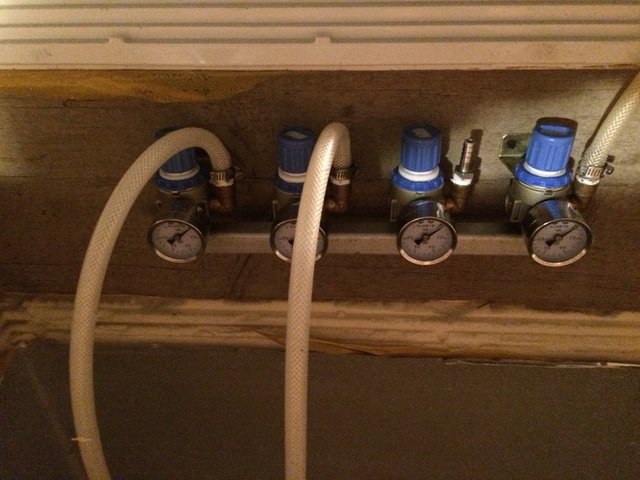
I went ahead and installed my tap and gas lines. I use a four way regulator (pictured below). I advise insulating at this point while the keezer is empty. I didn’t do it that way and it was more work than it needed to be.
Applying some heat to the tubing with a lighter can really help it slide on to the tap fittings more easily.
Zip-ties also come in handy to tame the mass of lines.
I used electrical tape to label my lines (one stripe for tap one, two stripes for tap number two and so on).
Don’t forget to drill a hole for your gas line (if you keep your tank outside of your keezer).

Insulate!
I used some reflective foam I found next to a garbage bin for this. At minimum I would whip out the PU foam and go-to-town on the seams. A word of caution if this is your first time using PU foam, a little goes a long way! That stuff expands like crazy. Especially, use caution around the seam as you could end up messing up your seal if you apply to much and knock it out-of-level.
I taped my top seams where the foam buts up next to the rim. I also stapled the heck out of the foam to secure it in place.


Setup the Temperature Regulator
I’ve used two different kinds of regulators. I recommend the style with a temp probe that maintains your keezer at whatever range of temps you desire. I am currently using a switch that lets my keezer run and turn off for a set amount of time. It works but when I put a room temp keg in it can raise the temp a bit and I get some foaming at the tap. The plus side is that it is probably easier on my keezer’s compressor.

Paint and Pour
I had some chalk-board paint hanging around and used that. I painted the lids and front of mine.


Links for Other Builds (Collared)
Shots of My Other Keezer


